Hosting control panels
WordPress.org is a free website design application by Automatic that users can download and install on their website hosting servers and use in building their websites.
Hosting providers make use of control panels to allow users to manage their accounts and install WordPress.
There are 3 basic forms of hosting control panels;
- cPanel (this is used by the majority of hosting providers, follow the steps below to install WordPress)
- In-house/native control pane (e.g. SiteGround, follow the one-click WordPress installation guide available on their account dashboard to install WordPress)
- Hybrid – both cPanel and native control panel (e.g. Bluehost, you can either follow the one-click installation guide or go through the steps in this post)
If you are using a managed WordPress hosting provider like WP Engine, or Flywheel, the WordPress application is already pre-installed and you don’t have to do anything.
In this guide, I will show you how to install a WordPress.org website using cPanel from a Bluehost shared hosting account.
If you make use of another hosting provider, go to cPanel and follow this guide from Number 2.
Installing WordPress using cPanel
1. Log in to your Bluehost hosting account and click on Advanced.

2. Search for Softaculous and click on the “WordPress Manager by Softaculous” application.

3. Click on Install on the Softaculous menu

4. Now customize your installation.
- Choose either the https:// or https://www. protocol
- Choose your domain, if you have more than one. Your subdomains will appear here as well
- Ignore the In Directory space. This is only useful if you want to install WordPress as a subdirectory.
- Choose your WordPress version (always choose the latest version!)
- Write your site name and description. Ignore the Enable multisite checkbox (This is only useful if you want to create a WordPress multisite website)
- Choose your username (never use admin!), set a strong password, and include your active email address.

5. Leave the other options in place, scroll down, and click on the install button.
Give the installation some time to complete.
Click on the Administrative URL to go to your new WordPress website.

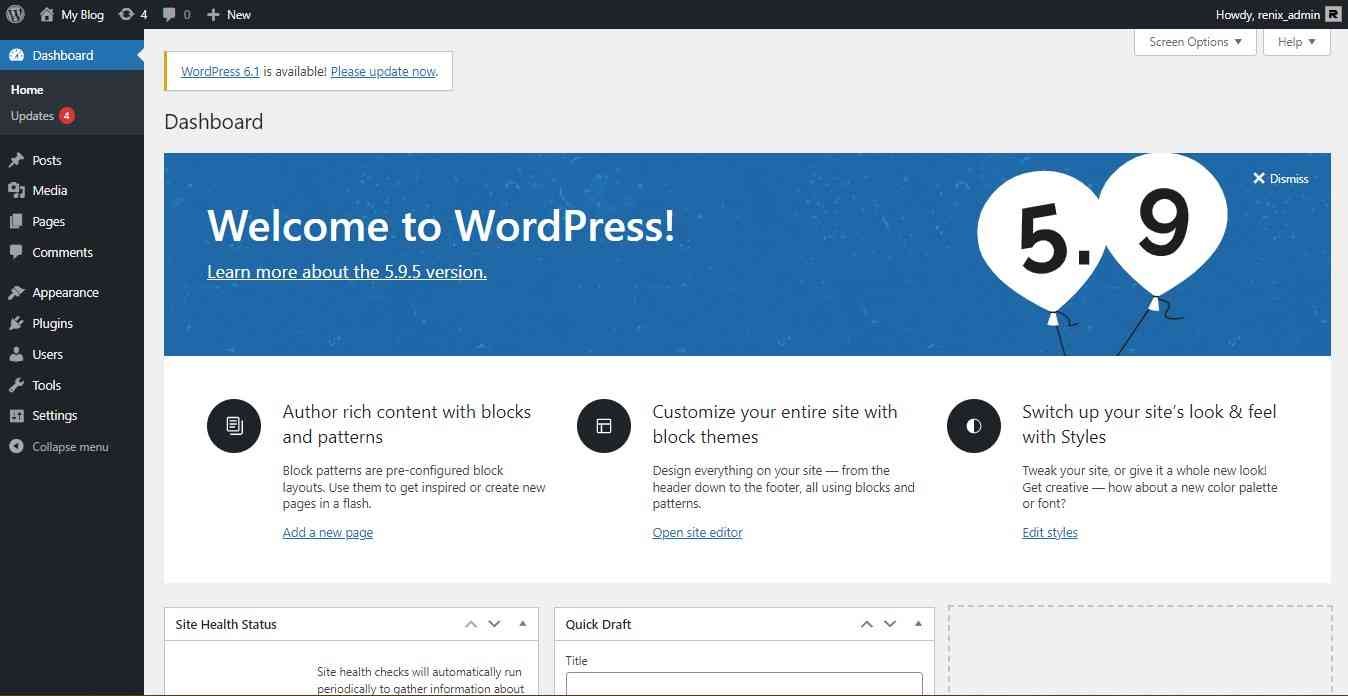
6. There you go, your new WordPress website.
You should be logged in.
Now you can design your website.

Did you enjoy this post?
If so, please share it with your friends and followers on social media! It's a great way to help others learn about WordPress and to support our blog. You can use the share buttons below...
Elevate Your Brand with Professional Website Design
Discover how we can transform your online presence with professional website design services. We specialise in creating modern, user-friendly websites tailored for the medical, legal, university, and Christian sectors. If you're ready to elevate your brand and connect with your audience more effectively, contact us today to get started!
Tutorials on YouTube
And if you’re looking for more in-depth WordPress tutorials,be sure to subscribe to our YouTube channel! We have a wide variety of videos on WordPress.
