The Ads.txt (Authorized Digital Sellers) file plays a crucial role in ensuring the legitimacy of your inventory and preventing advertisement fraud.
If you’re a WordPress website owner, understanding Ads.txt and its implementation is vital.
Your website is a magnet for advertisers eager to reach your audience.
You have a responsibility to protect your visitors from fraudulent ads and ensure your revenue stays clean.
This is where the ads.txt file comes in.
It is your digital guardian angel, shielding your website from ad-related mayhem.
Ads.txt is a simple plain text file that publishers place on their websites to publicly declare which companies are authorized to sell their digital inventory.
This initiative, supported by the Interactive Advertising Bureau (IAB), aims to combat domain spoofing and unauthorized inventory sales.
This prevents unauthorized actors from injecting malicious or misleading ads onto your site, protecting both your visitors and your reputation.
This blog post will guide you through the importance of Ads.txt and the process of adding it to your WordPress site.
Benefits of having an ads.txt file
- Preventing ad fraud: Ads.txt helps prevent domain spoofing and unauthorized selling of ad inventory, reducing the risk of ad fraud.
- Enhancing transparency: By publicly listing authorized sellers, publishers create transparency in the digital advertising supply chain, promoting trust among advertisers and buyers.
- Improving revenue: Advertisers often prioritize websites with a valid Ads.txt file, potentially increasing demand for your ad inventory and improving revenue potential.
How to add ads.txt to your WordPress website
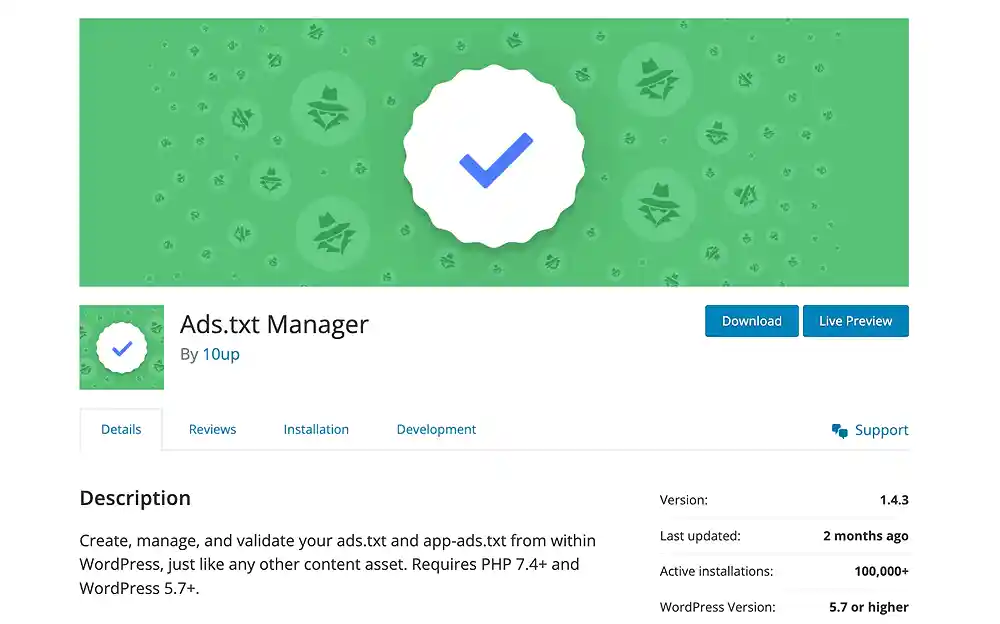
1. Using the ads.txt manager plugin

- Log in to your WordPress dashboard. Navigate to “Plugins” and click on “Add New.”
- Search for “Ads.txt Manager” and install the plugin. Activate the plugin.
- Once activated, go to “Settings” in your WordPress dashboard and select “Ads.txt.”
- In the Ads.txt settings, you’ll find a text area where you can add your authorized sellers. Follow the IAB specifications for each line. Example:google.com, pub-0000000000000000, DIRECT, f08c47fec0942fa0. Replace “pub-0000000000000000” with your actual AdSense publisher ID. (You can get this information from your Google Adsense dashboard.)
- After adding the authorized sellers, click “Save Changes” to update your Ads.txt file.
- Ensure that your Ads.txt file is accessible by visiting “yourdomain.com/ads.txt” in a web browser. Replace “yourdomain.com” with your actual domain.
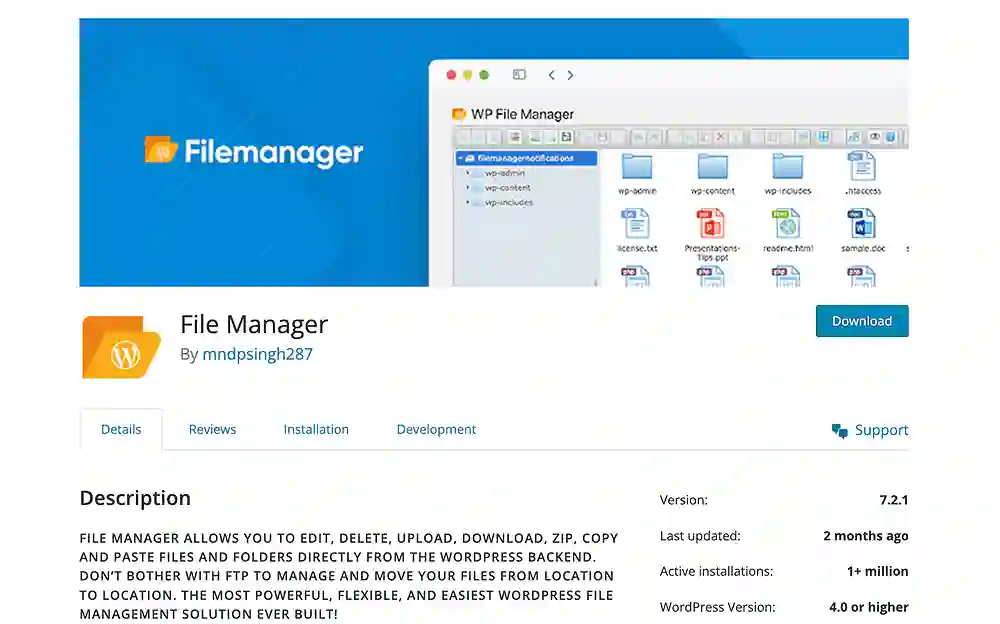
2. Using a file editor plugin

- In your WordPress dashboard, navigate to “Plugins” and click on “Add New.”
- Search for the “File Manager‘ plugin by mndpsingh287, and install the plugin. Activate the plugin.
- Once activated, locate the new “File Manager” option in your WordPress dashboard. Click on “File Manager” to access your website’s files.
- Navigate to the root directory of your WordPress installation within the File Manager.
- If you don’t have an existing Ads.txt file, you can create a new one. Right-click in the File Manager, choose “Create New File,” and name it “ads.txt.” If you already have an Ads.txt file, locate and select it.
- Right-click on the Ads.txt file and choose “Edit” or “Code Edit” to open the file.
- Add lines of text following the IAB specifications, indicating authorized sellers and your account ID. Example: google.com, pub-0000000000000000, DIRECT, f08c47fec0942fa0. Replace “pub-0000000000000000” with your actual AdSense publisher ID. ( You can get this information from your Google Adsense dashboard.)
- Save Changes: Save the changes to the Ads.txt file.
- Ensure your Ads.txt file is accessible by visiting “yourdomain.com/ads.txt” in a web browser and replacing “yourdomain.com” with your actual domain.
3. Using your web hosting file manager

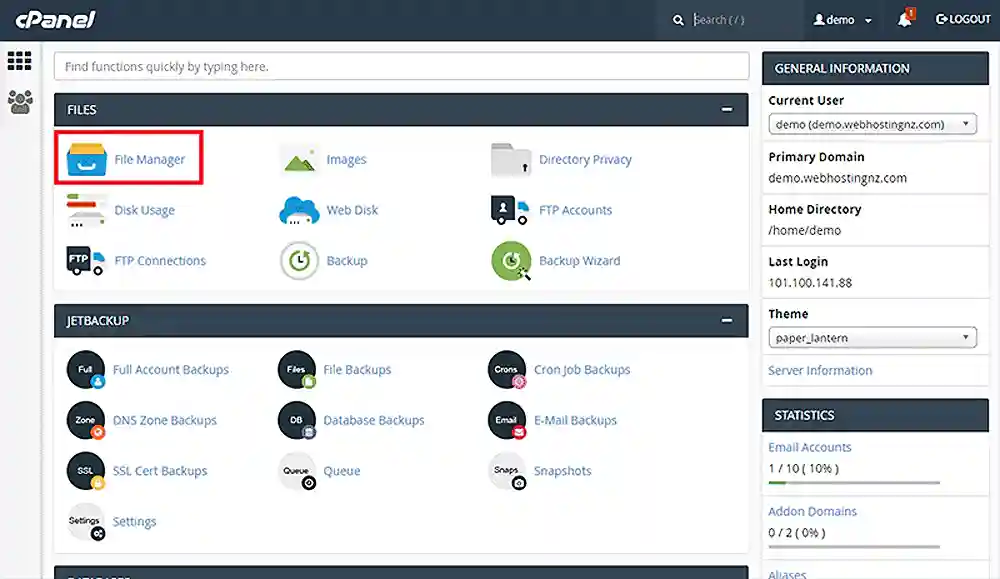
- Log in to your hosting account and access the control panel. Common control panels include cPanel or custom panels provided by your hosting provider.
- Navigate to the “File Manager” or an equivalent file management tool in your hosting control panel.
- Locate the root directory of your WordPress installation. This is often named “public_html” or something similar.
- If you already have an Ads.txt file, proceed to the next step. If not, create a new text file and name it “ads.txt.”
- Right-click on the “ads.txt” file and select “Edit” or “Code Edit.”
- Input the authorized seller information according to the IAB specifications. Each line typically includes the domain name of the advertising system and your account ID. Example: google.com, pub-0000000000000000, DIRECT, f08c47fec0942fa0. Replace “pub-0000000000000000” with your actual AdSense publisher ID. (You can get this information from your Google Adsense dashboard.)
- Save the changes to the Ads.txt file.
- Ensure that your Ads.txt file is accessible by visiting “yourdomain.com/ads.txt” in a web browser. Replace “yourdomain.com” with your actual domain.
Did you enjoy this post?
If so, please share it with your friends and followers on social media! It's a great way to help others learn about WordPress and to support our blog. You can use the share buttons below...
Elevate Your Brand with Professional Website Design
Discover how we can transform your online presence with professional website design services. We specialise in creating modern, user-friendly websites tailored for the medical, legal, university, and Christian sectors. If you're ready to elevate your brand and connect with your audience more effectively, contact us today to get started!
Tutorials on YouTube
And if you’re looking for more in-depth WordPress tutorials,be sure to subscribe to our YouTube channel! We have a wide variety of videos on WordPress.
