A contact page is an essential part of any website.
It is where visitors can get in touch with you if they have any questions or feedback.
It is best practice to have a contact form, email address, a map, social profile links, a contact phone number, etc.
If your site is to take a private tone, including just a contact form on this page would suffice; otherwise, you can include your email address and phone number.
A branded or custom email address (e.g., contact@renixconsulting.com) is advised as it is more professional.
A well-designed contact page will make it easy for visitors to get in touch with you and will help to build trust with your visitors.
In this post, we’ll walk you through the process of creating a contact page for your WordPress website.
Guidelines for creating a contact page
1. Utilize a contact form
WordPress offers various plugins for creating contact forms.
Contact Form 7 is a popular choice, which is the plugin we will use in this guide.
You can embed a form on your contact page to streamline communication.
2. Personalize the form
Customize the form to align with your brand’s aesthetics.
Modify colors, fonts, and field styles to create a cohesive look.
3. Provide multiple contact options
While a contact form is essential, consider providing alternative contact methods.
Include your business email address, phone number, and office address.
This accommodates users with different communication preferences and adds credibility to your business.
4. Interactive maps
If your business has a physical location, embed an interactive map on the contact page.
This not only helps visitors find your premises but also adds a visual element to the page.
Google Maps offers an easy-to-embed feature for WordPress websites.
5. Encourage specific inquiries
Include drop-down menus or checkboxes on the contact form to let users specify the nature of their inquiry.
This helps streamline communication and ensures that messages are directed to the right department or individual within your organization.
6. Personal touch with team member contacts
If applicable, consider including contact details for key team members.
This adds a personal touch to the page, making visitors feel more connected.
Include professional headshots and brief bios to introduce the faces behind your brand.
7. Clear call-to-action (CTA)
Guide visitors to the next steps by incorporating a clear CTA.
Whether it’s submitting the contact form, reaching out via email, or making a phone call, ensure that the desired actions are prominently featured on the Contact Page.
8. Strategic placement
The first step in creating an effective contact page is deciding where to place it.
Typically, the contact link is included in the main navigation menu for easy access. Ensure it’s visible, and consider placing a secondary link in the footer for added convenience.
9. Social media integration
If your business is active on social media, consider integrating social media icons on the contact page.
This provides an additional channel for communication and allows visitors to connect with your brand on various platforms.
10. Responsive design
Optimize your Contact Page for mobile devices.
Many users access websites on smartphones, and a responsive design ensures a seamless experience across different screen sizes.
Common contact form plugins
 To create a contact form in WordPress, you will need a form plugin. Examples are included below:
- Contact Form 7: This is one of the most popular contact form plugins for WordPress. It is easy to use and allows you to create custom contact forms.
- WPForms: This is another popular contact form plugin for WordPress. It is also easy to use and allows you to create custom contact forms.
- Ninja Forms: This is a more advanced contact form plugin for WordPress. It allows you to create complex contact forms with multiple fields.
Steps to creating a contact page
Install and Activate the Contact Form 7 Plugin
- Go to the Plugins menu in your WordPress dashboard.
- Click on the “Add New” button.
- Search for “Contact Form 7” in the plugin search bar.
- Click on the “Install Now” button next to the Contact Form 7 plugin.
- Click on the “Activate” button to activate the plugin.
Create a New Contact Form
- Go to the Contact menu in your WordPress dashboard.
- Click on the “Add New” button.
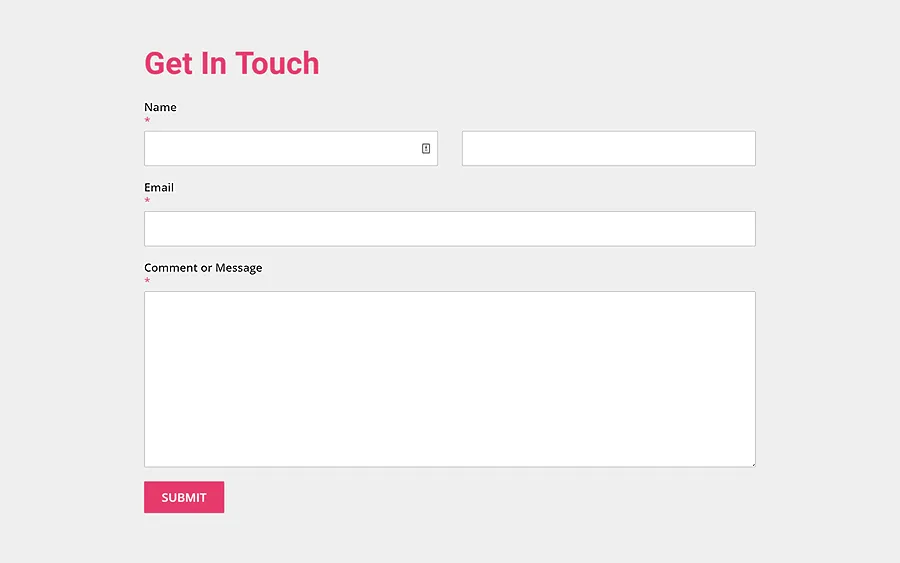
- Enter a name for your contact form, such as “Contact Us” or “Get in Touch.“
- Click on the “Create” button.
Add Form Fields
- Click on the “Form” tab in the Contact Form 7 editor.
- Click on the “Insert tag” button.
- Select the type of form field you want to add, such as “Your Name,” “Your Email,” or “Your Message.”
- Complete the options for the form field.
- Repeat steps 3 and 4 to add additional form fields.
Configure Email Settings
- Click on the “Mail” tab in the Contact Form 7 editor.
- Enter the email address you want to receive contact form submissions.
- Enter a subject line for the email.
- Enter the email body. You can use shortcodes to insert the values from the form fields into the email body.
- Click on the “Save” button.
Integrate the Form to a Contact Page
- To create a new page or edit an existing page where you want to display the contact form, go to Pages > Add New.
- Enter a title for your contact page, such as “Contact Us” or “Get in Touch.”
- Start writing your contact page content. Be sure to include the following information:
- Your contact information, such as your email address, phone number, and mailing address
- A map of your location (if applicable)
- A social media links section
- Click on the “Add Shortcode” button in the editor.
- Select “Contact Form 7” from the list of shortcodes.
- Select the contact form you want to insert.
- Click on the “Insert shortcode” button.
- Once you are finished writing your contact page, click the Publish button.
Test the Contact Form
- Visit the page or post where you embedded the contact form.
- Fill out the form and submit it.
- Check your email inbox to see if you received the contact form submission email.
Maintaining your contact page
- Use a spam filter or captcha to prevent spam submissions on your contact form.
- Use a confirmation message to let users know that their submission was successful.
- Include a map of your physical location (if applicable). This will help visitors find your business or office.
- Respond to contact form submissions as soon as possible. This will show your visitors that you value their feedback.
- Test your contact form regularly. Make sure that your contact form is working properly and that you are receiving submissions.
Did you enjoy this post?
If so, please share it with your friends and followers on social media! It's a great way to help others learn about WordPress and to support our blog. You can use the share buttons below...
Tutorials on YouTube
And if you’re looking for more in-depth WordPress tutorials,be sure to subscribe to our YouTube channel! We have a wide variety of videos on WordPress.