Optimizing images is a key factor in enhancing the user experience and page loading times.
One often overlooked aspect of image optimization is the choice of image format.
Using the wrong image format can slow down your website and leave visitors with a bitter taste.
In this blog post, we’ll explore the different image formats available for your WordPress website and provide insights into when to use each one.
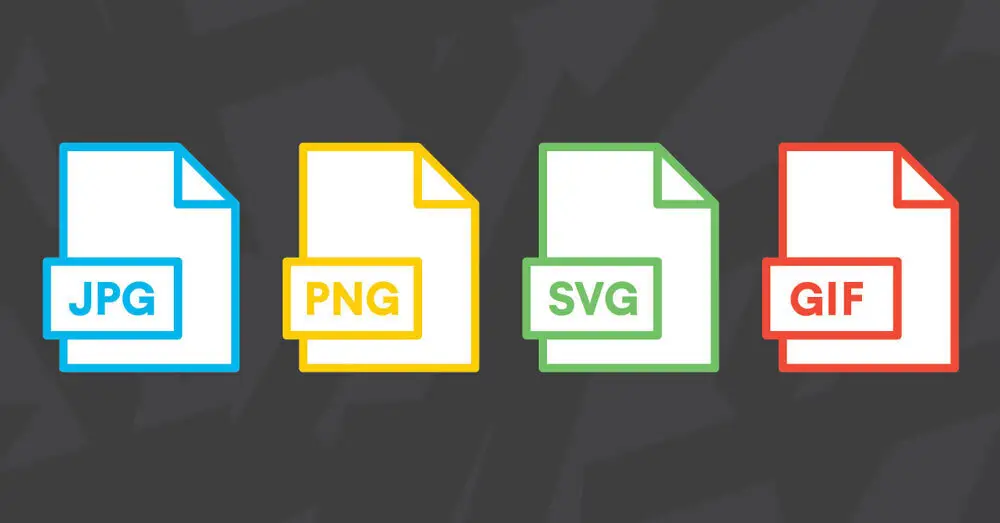
Common types of image formats
1. JPEG (Joint Photographic Experts Group)
JPEG is a widely supported format suitable for images with gradients, color variations, and intricate details.
It offers variable compression levels, allowing you to balance image quality and file size.
They use “lossy” compression, meaning they discard some data to shrink file size while (hopefully) maintaining acceptable quality.
This makes them ideal for showcasing stunning landscapes, portraits, and other detailed images.
When to use…
- Use JPEG for photographs, images with many colors, and realistic scenes.
- Adjust the compression level based on the image quality and file size balance.
2. PNG (Portable Network Graphics)
PNGs are ideal for images with transparency, and they support lossless compression, making them suitable for graphics, logos, and images with text.
They use “lossless” compression, preserving all the data in the image for sharp lines and crisp edges.
However, this comes at the cost of larger file sizes compared to JPEGs.
When to use…
- Choose PNG for images with transparency, logos, graphics, and images with text.
- Use PNG-8 for simpler graphics and PNG-24 for images requiring a full range of colors.
3. WebP
WebP is the next-generation format for web optimization
WebP is a modern format developed by Google that provides excellent compression without compromising quality.
WebP offers impressive compression for both photos and graphics, surpassing both JPEG and PNG in many cases.
It supports both lossy and lossless compression, making it versatile for a variety of images.
However, browser compatibility is still evolving, so it’s best paired with a fallback format like JPEG for now.
When to use…
- Consider using WebP for a more modern and efficient web experience.
- Ensure browser compatibility, as not all browsers support WebP. Implement fallbacks for non-supporting browsers.
4. GIF (Graphics Interchange Format)
Great for simple graphics and small, looping animations.
Tagged as the animation king, GIFs are great for adding a bit of fun and movement to your website.
GIF is suitable for simple graphics, icons, and low-color images.
However, their file sizes can be hefty, so use them sparingly.
When to use…
- Opt for GIFs when dealing with simple graphics, icons, and small animations.
- Remember that GIF has a limited color palette (256 colors), so it may not be suitable for complex images.
5. SVG (Scalable Vector Graphics)
SVGs are perfect for logos and icons that need to adapt to any screen size without losing quality.
They conjure images from lines and shapes, making them infinitely scalable without losing quality.
Think of them as a digital chameleon, blending seamlessly into any resolution.
They’re lightweight, future-proof, and not ideal for photos.
When to use…
- Some icons, graphics, and logos.
- Complex SVGs can be heavy, so use them strategically for icons and logos.
Choosing the right format
- Photos: JPEG for most cases, WebP for smaller sizes, PNG for specific situations (e.g., infographics with text).
- Graphics and logos: PNG for transparency and sharp lines; WebP for smaller sizes; SVG for ultimate scalability.
- Icons: PNG or SVG, depending on size and complexity.
- Animations: GIFs add a playful touch, but use them wisely.
How to change the format of an image
1. Using a plugin
Some WordPress plugins are designed to automatically convert images on your website to the webp. format.
Examples are included below.
We would utilize the Imagify plugin in our guide to converting your image format below.

- Log in to your WordPress dashboard. Navigate to “Plugins” and click on “Add New Plugin.”
- Search for “Imagify” and click “Install Now” next to the Imagify plugin. After installation, click “Activate.”
- Once activated, you will be presented with a tab that requests that you create an account, enter your API key, and go to settings to configure the plugin.
- Sign in or create a free Imagify account by entering your email address in the space provided. Verify your email and change your Imagify password using the emails that you received from Imagify. Access your Imagify account to copy your API key.
- Go to step 2, click the “I HAVE MY API KEY” button, and paste the key.
- Once the key is verified to be valid, you can now go to the Imagify settings.
- Choose to auto-optimize images, backup original images, and/or use lossless image compression.
- Configure additional settings based on your preferences.
- Verify WebP conversion, upload a new image, or edit an existing post or page.
- Inspect the image in the media library. Imagify will display a WebP version alongside the original JPEG; ensure that you verify that the WebP version is serving properly on your website.

2. Using an online tool (RedKetchup.io)

To achieve this, you can use the free online image converter by RedKetchup.
- Open your web browser and go to the RedKetchup Image Converter.
- Click on the “Browse” button on the “Select Image” tab to select the image you want to convert. This will open your file explorer for you to locate and upload the image.
- After uploading the image, you’ll see a list of supported output formats (e.g., JPEG, PNG, WEBP, etc.)
- Select the format to which you want to convert your image by clicking on the corresponding format icon.
- RedKetchup provides additional settings for certain formats. For instance, if you’re converting to WEBP, you may have options to adjust the image background and quality. Review and adjust these settings based on your preferences and requirements.
- Once you’ve selected the output format and adjusted any necessary settings, click the “Download” button to preview the image or the “Skip Preview” button to go ahead and download the converted image.
- If you have more images to convert, you can repeat the process by clicking on the “Back” button or uploading a new image.
Did you enjoy this post?
If so, please share it with your friends and followers on social media! It's a great way to help others learn about WordPress and to support our blog. You can use the share buttons below...
Tutorials on YouTube
And if you’re looking for more in-depth WordPress tutorials,be sure to subscribe to our YouTube channel! We have a wide variety of videos on WordPress.